Do you find yourself hunched over your desk, craving the freedom to stretch and move as you work?
It’s high time to revolutionize your workspace with a DIY standing desk!
In this guide, we’ll show you how to create your very own ergonomic setup.
Not only will it boost your health, but it’ll also give a fresh, energetic vibe to your workspace.
Practical strategies and examples lie ahead, so get ready to transform your office life.
Let’s dive right in!
Deciphering the DIY Standing Desk
Don’t let the “DIY” part intimidate you.
Yes, it’s a task that might feel like a big bite at first, but trust us, once you’ve broken it down into chewable chunks, it’s more of a delicious pie with many benefits rather than a sour lemon…
Step 1: Choose the Right Material

Choosing the material is akin to an artist selecting their canvas — it will set the tone for your standing desk project.
Are you drawn to the solid, age-old beauty of oak? Or perhaps the sleek, minimalist home office vibe of steel or glass appeals to you more.
Maybe an affordable yet durable choice like plywood is your go-to?
The possibilities are numerous, and your choice should depend on your budget, decor style, and functionality needs.
For instance, if you tend to have a lot of heavy equipment, a sturdy oak or metal desk could be your best bet.
Conversely, for those who like to change their furniture every few years, plywood could provide the perfect balance between cost and durability.
Remember, your desk isn’t just a tool — it’s a statement.
Let it reflect your personality while also providing the strength and resilience you need for the workday.
Step 2: Height Matters
When it comes to the height of your standing desk, think about the story of Goldilocks.
You don’t want it too high or too low — it needs to be just right.
An incorrectly sized desk can lead to discomfort and potential long-term health issues.
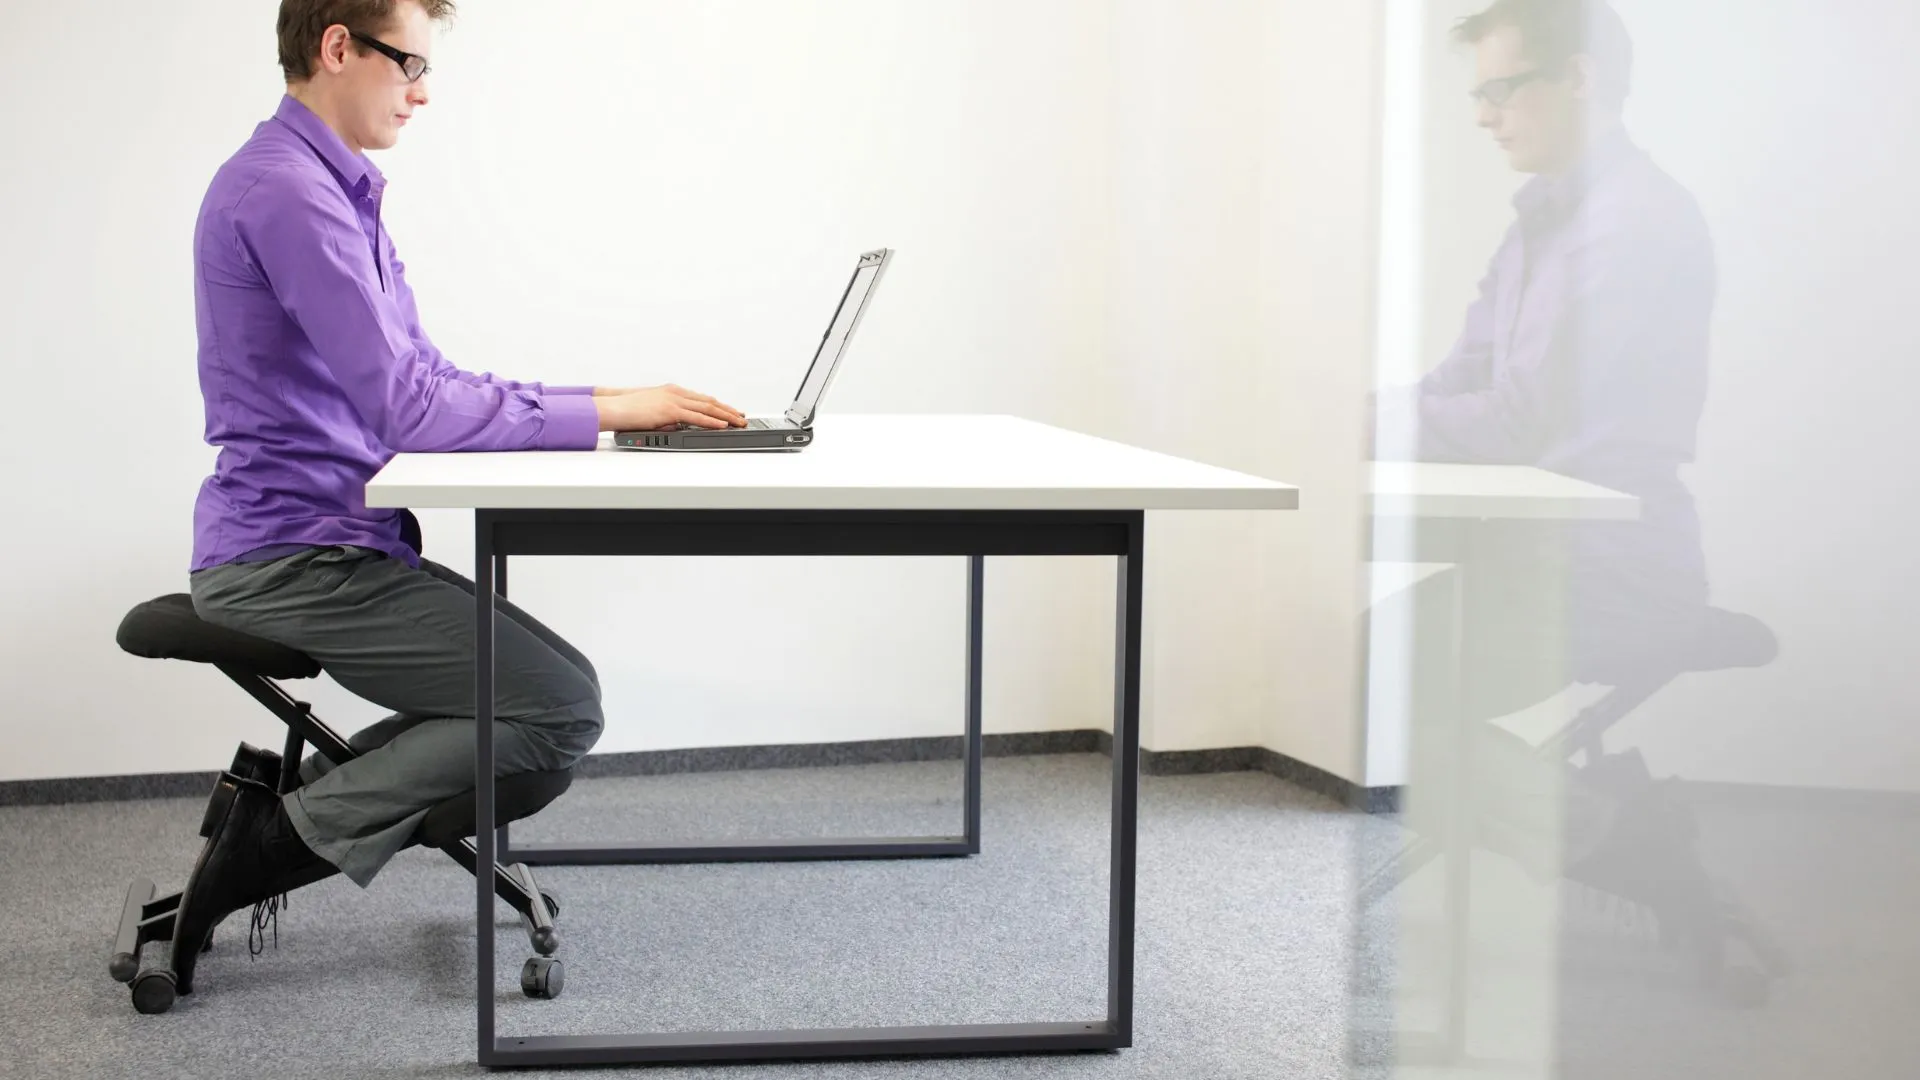
The ideal standing desk height is usually at elbow level, meaning your elbows should form a 90-degree angle when typing.
But remember, everyone’s body is different, so don’t be afraid to adjust as needed.
An adjustable desk is a great solution that allows you to fine-tune the height according to your body’s requirements, ensuring you never have to compromise your posture for productivity.
After all, a comfortable workspace is a happy workspace!
Step 3: Keeping it Ergonomic

Ergonomics isn’t just a buzzword — it’s the science of work and how the workspace can adapt to the worker, not the other way around.
Your DIY standing desk should follow this principle.
Consider your computer screen’s position — it should be at eye level so you’re not straining your neck.
Next, the keyboard should be placed in such a way that your shoulders can stay relaxed and not hunched.
Your mouse should be within easy reach to avoid stretching or awkward arm movements.
And of course, never forget the essentials like room for your coffee, or better yet, a place for a mini indoor plant to give a breath of fresh air to your work environment.
Consider incorporating adjustable shelves or a slide-out keyboard tray to allow for personalized configurations.
Also, don’t overlook your floor — invest in a good quality anti-fatigue mat to keep your feet comfortable.
Remember, an ergonomic desk isn’t just about comfort, it’s also about enhancing your efficiency and productivity.
Step 4: Assemble Your Toolbox
Embarking on the DIY standing desk journey is an adventure, and every intrepid explorer needs the right toolkit.
A basic set should include a saw, drill, screws, a tape measure, and sandpaper.
While these are the essential tools, don’t overlook the value of a level for achieving perfectly balanced surfaces, and clamps to keep everything securely in place while you work.
This won’t require a degree in rocket science, but remember — quality tools can significantly improve your crafting experience and the finished product.
Step 5: Roll Up Your Sleeves
Now that you’ve got the tools and chosen the perfect material, it’s time to get to work.
You’ve measured twice (since it’s always wiser than cutting twice), and meticulously planned your layout. Now the fun really begins…
As you start connecting the pieces together, don’t be surprised if things don’t go as planned.
Embrace the challenge!
Trial and error are integral parts of the DIY process.
And there’s something incredibly satisfying about working through the missteps to see your vision come to life.
Remember, patience is a DIYer’s best friend!
Step 6: Sprinkle in Some Finishing Touches
With the basic construction complete, it’s time to finesse your standing desk.
Resist the urge to immediately place your computer on it; there’s still some work to do.
Any masterpiece requires final touches.
Sand the edges to create a smooth, safe surface.
Add a coat of paint or polish to not only protect your desk but also to give it your personal touch.
You could even consider adding some cable management solutions, like a simple grommet or a cable tray.
This way, you’re not just building a standing desk — you’re crafting a streamlined, bespoke workspace that’s ready to inspire you every day.
Step 7: Keep It Sparkling
Congratulations! You’ve built your DIY standing desk, a testament to your perseverance and ingenuity.
But the journey doesn’t end here.
Ensure it stands the test of time with regular maintenance.
Clean it often, check and tighten the screws as needed, and refinish the surface occasionally to keep it looking fresh.
Consider using protective pads under your desk accessories to prevent scratches.
You could also make a habit of examining the desk for any wear and tear during your regular cleaning routine.
Remember, your standing desk isn’t just furniture; it’s a symbol of your commitment to healthier and more dynamic workdays.
Treating it with care is part of honoring that commitment.
Ready to Create Your DIY Standing Desk?

You’ve taken a big step today, contemplating the leap from a traditional seated workspace to the dynamic world of standing desks.
It’s okay to feel a bit overwhelmed; after all, change is never easy, right?
But remember, this isn’t just about standing; it’s about empowering yourself, your health, and transforming your work environment.
You’re about to reinvigorate your productivity, shake off that sluggish feeling, and embrace a new sense of freedom in your daily grind.
Stand tall and get ready to own your workspace like never before!
You’ve got this.


