Ever fantasized about your own chalkboard wall in your home office?
Imagine the convenience of jotting down fleeting ideas or the joy of your kids sketching their whimsical dreams right onto your wall.
Sounds dreamy, right? Well, it doesn’t have to be a dream any longer.
We’re going to show you a simple, foolproof method to create your very own chalkboard wall, along with tips to make the process even smoother.
Let’s dive right in!
The Essential Materials for Chalkboard Walls
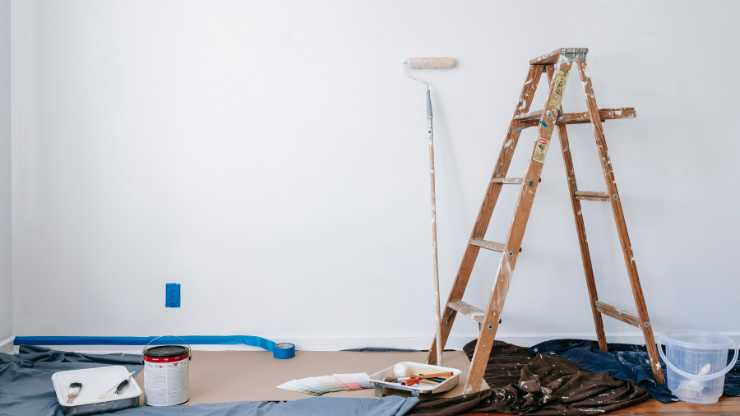
Before we embark on our creative journey, let’s ensure we have the right supplies to create a masterpiece in your home office.
Whether you’re opting for an entire wall or a small wall surface, you’ll need chalkboard paint, and here’s a surprise — it’s available in various colors, not just the classic black! Want a deep, elegant blue or a vibrant green? The choice is yours.
A paint roller will be your tool of choice for applying the chalk paint. Go for a quality roller; it’ll give you a smoother finish and last longer.
Investing in good painter’s tape is key too.
It’ll give you sharp, crisp edges and peel off easily without damaging your new chalkboard wall.
You’ll also need a paint tray, a level for getting those lines just right, and of course, chalk.
And here’s a neat tip: buy dustless chalk. It’s easier to clean and gentler on your new chalkboard wall.
But, if you’re in the market for something different, you could opt for magnetic paint. It’s a bit like magic — your DIY chalkboard wall can also serve as a magnetic board!
This adds another level of fun and functionality, especially in kids’ rooms or busy kitchens. Plus, it’ll be a surefire conversation starter.
Remember, the right supplies make the process smoother and the results more satisfying!
6 Steps to Creating Your DIY Chalkboard Wall
Armed with our quality supplies, let’s dive into the process. Here are six simple steps that will ensure you get the best results…
Step 1: Ready to Prep?
Preparation is key and a clean surface is vital for the paint to adhere properly.
So, clean your wall first with a sponge and warm water. And if required, fill in any holes with a filler solution. If you need supplies, simply pop to your local hardware store or home depot.
But here’s a bonus tip: lightly sand the surface. Yes, you heard right!
This extra step might seem unusual, but it helps the paint stick better and gives you a smoother surface for drawing and writing. Just make sure you wipe away the chalk dust after sanding before you start painting.
Step 2: Mark Your Area
Painter’s tape is a godsend for protecting corners and edges. But, have you ever thought about using it for more than just boundaries?
Use your imagination and the tape to create designs on your wall. You could have squares or rectangles of chalkboard interspersed with your normal wall, or maybe a flowing, curvaceous design.
The possibilities are endless, and the result is a chalkboard wall with unique character!
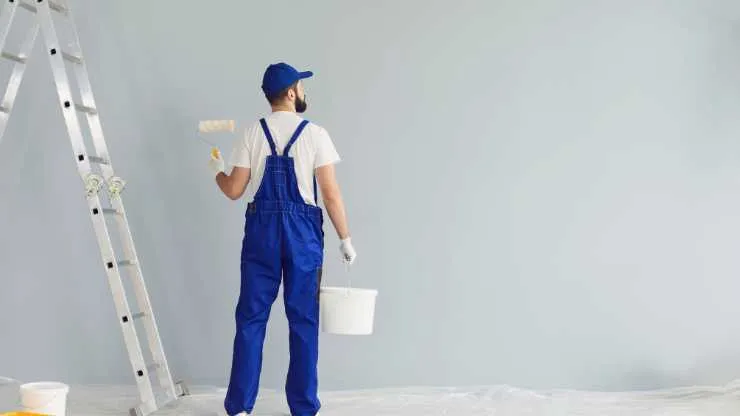
Step 3: Begin Rolling
When it comes to applying the paint, most people instinctively use the roller in long, vertical strokes.
But let’s consider something different: use the roller in a cross-hatching pattern (making X-shaped strokes).
Why, you ask?
Well, this method ensures the paint is more evenly distributed and provides better coverage, reducing the chance of unsightly streaks.
Step 4: Add Multiple Layers
Two coats of paint and a primer are the standard advice.
But what if we add an extra layer?
Applying three layers of chalkboard paint creates a more robust surface, and the chalk glides on more smoothly. Just remember to let each coat dry fully before applying the next to get the best result.
And if you’re using magnetic chalk paint, it might need a few more layers for the best magnetism.
Step 5: Time to Dry
Now comes an often-underestimated part of the process — the drying time.
Once you’ve applied the desired number of layers of chalkboard paint (remember our tip about trying three layers?), it’s time to sit back and let it dry.
You might be eager to get started with your chalk, but patience is key here.
Give the wall at least 24 hours, if not 48, to dry fully.
This ensures the paint is set properly and is ready for conditioning and, eventually for your creative expressions.
Step 6: Conditioning
Now for the final, often overlooked step — conditioning your chalkboard.
Before you start drawing or writing, rub the side of a chalk piece all over the painted surface, then erase it.
This conditions your chalkboard, ensuring it’s primed for optimal use and extends its longevity. Now, your chalkboard wall is ready for endless creativity!
Time to Enjoy Your New Chalkboard Wall

See, creating a chalkboard wall isn’t as daunting as you might’ve thought.
Now you’re equipped with not only the necessary steps but also insider tips that are often overlooked.
So go ahead, roll up those sleeves, and transform your home office!


